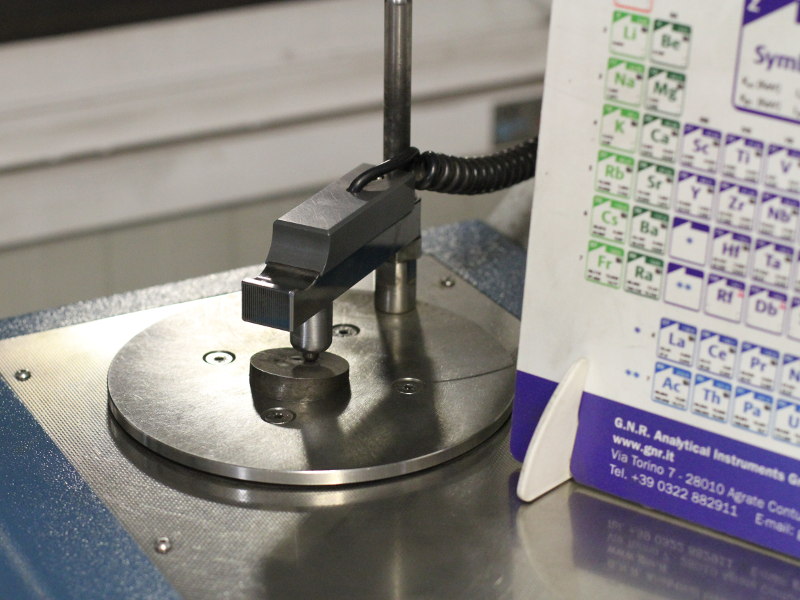
For chemical analysis we use two optical emission spectrometers. One spectrometer is placed in the melting shop and one in the laboratry. 100% of our iron production is constantly checked for 28 elements.
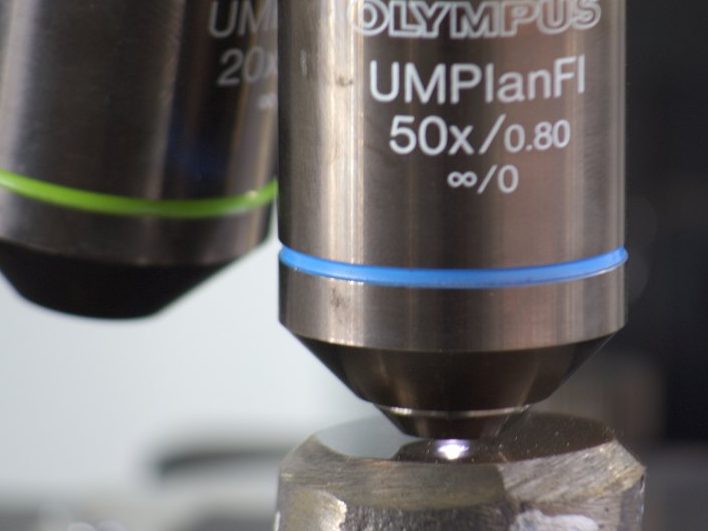
Metallographic Analysis are carried out using an Olympus light microscope with magnifications up to 500x according to ISO EN 945-1 and ASTM 247.
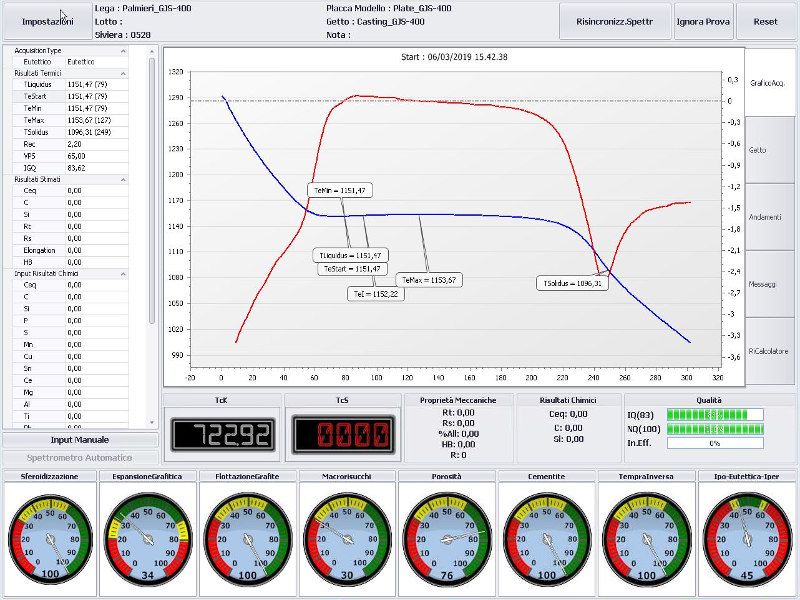
A sample from every ladle is withdrawn and poured in glass of sand connected to a thermocouple. The changes in temperature of the sample are monitored by means of a specific software.
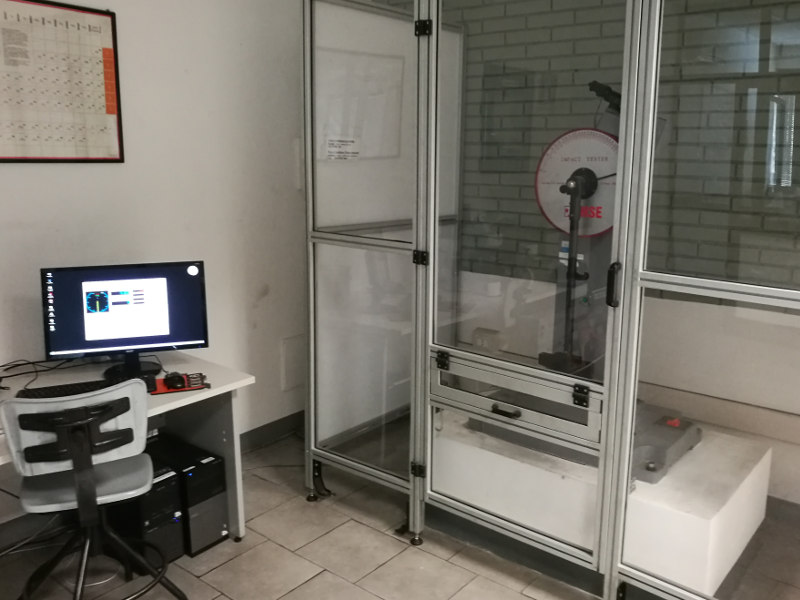
Mechanical characteristics of the production are constantly controlled by tensile testing (according to ISO EN 6892-1), impact testing (according to ISO EN 148-1) and hardness tests (according to ISO EN 6506-1).
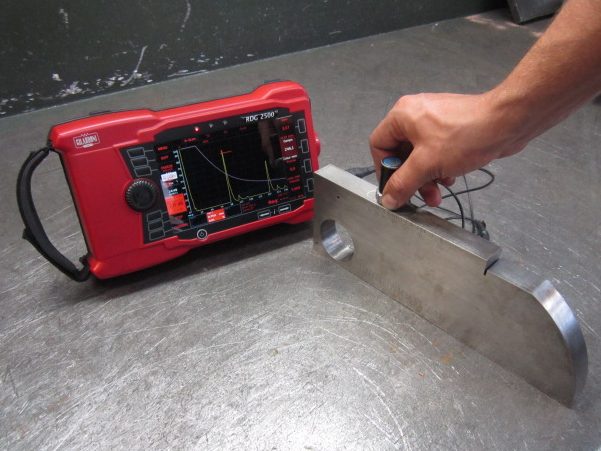
The most efficient and immediate testing method in order to detect internal defects on cast irons. Ductile iron is controlled in compliance with ISO EN 12680-1, -2, -3 and UNI EN 583-1, -2, -5.
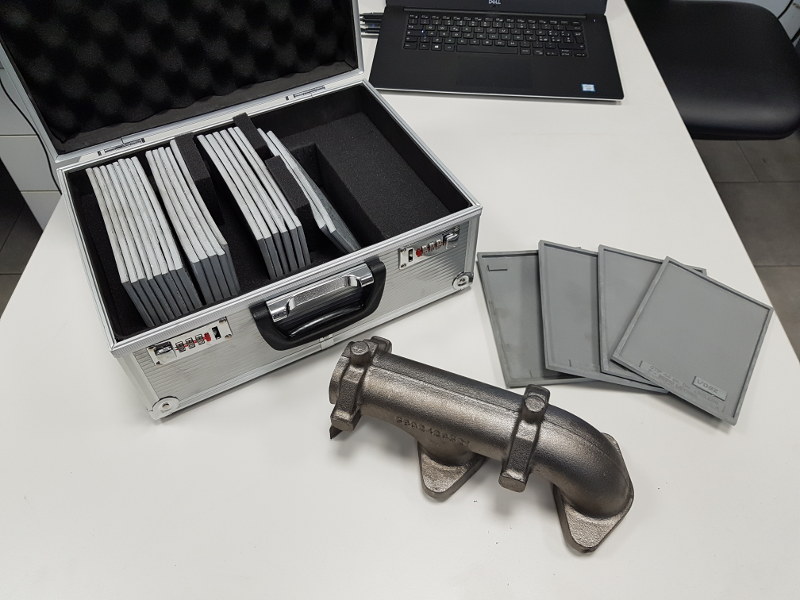
Our employees check the correct condition of the cast part surfaces using BNIF comparative samples in accordance with the DIN EN 1370 standard.
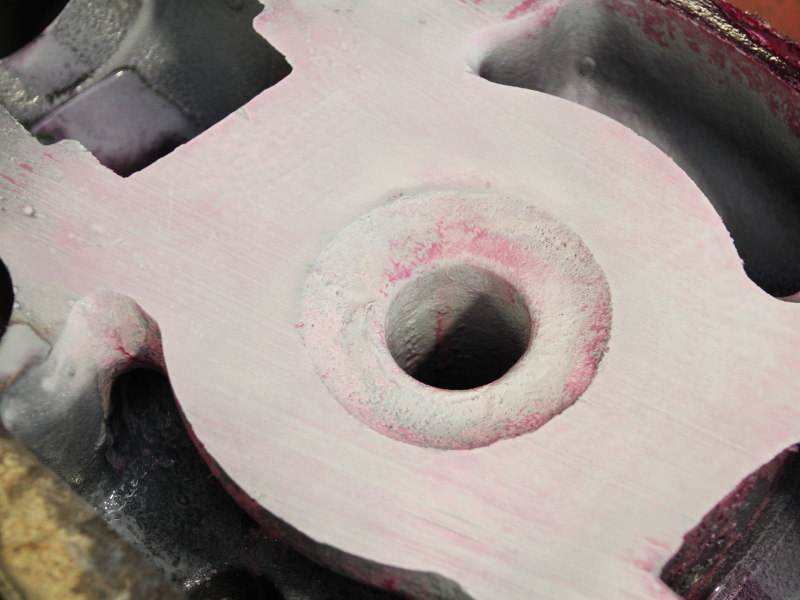
Dye penetrant inspection is used to ensure integrity of a surface (to highlight little cracks or porosity that are not visible to the naked eye).
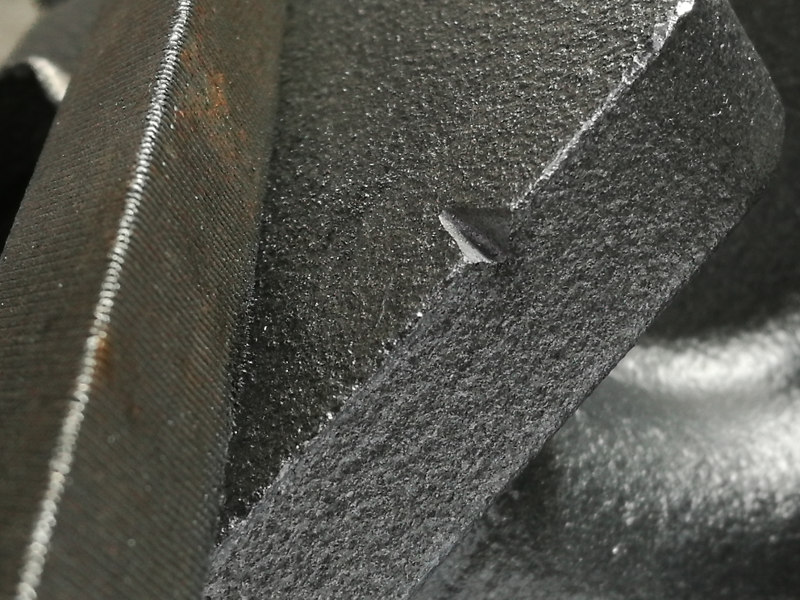
Controls the absence of hard spots of iron carbides.
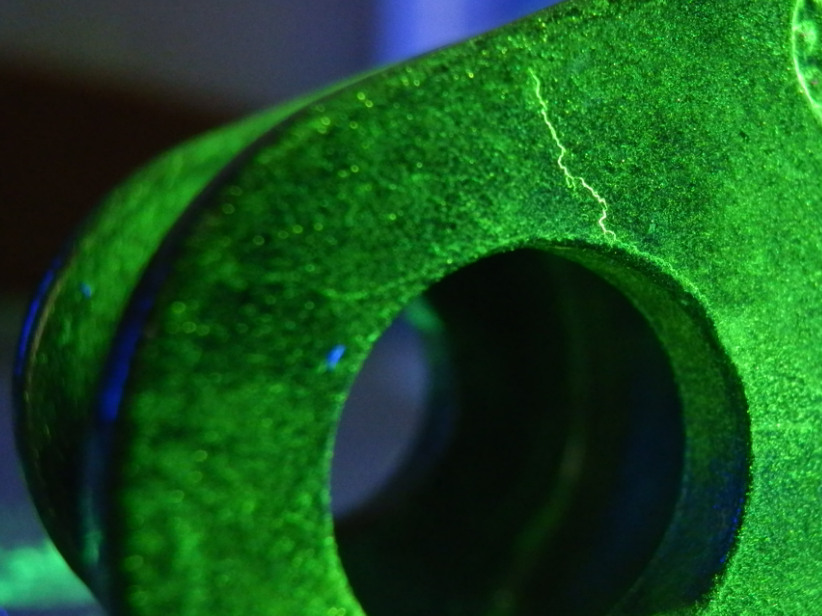
Magnetic particle inspection is a method for detecting cracks in or near the surface. The test is performed according to the standard DIN EN 9934:2017. Our employees are qualified according to DIN EN 9712 to carry out the tests and to certify them.
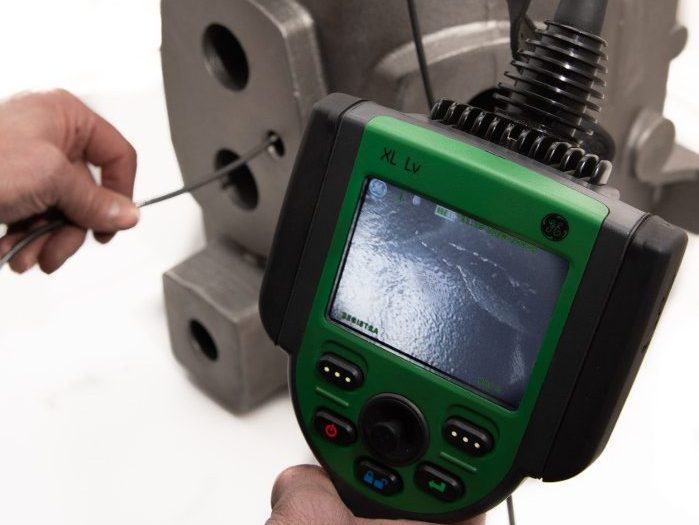
Technique that allows to search for superficial anomalies within details. Such test can be carried out whenever there is an inward access to be checked.
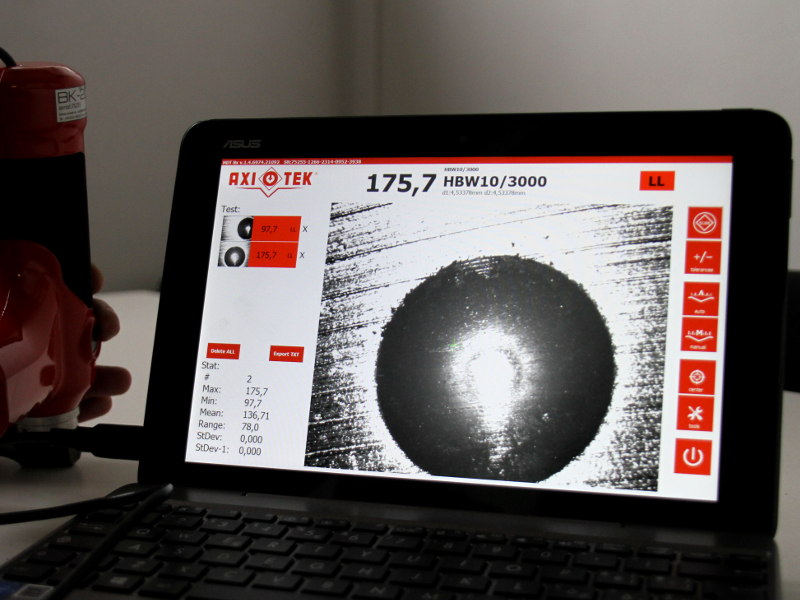
Fonderie Palmieri has the facilities to perform various hardness tests, the most common being Brinell.
These are carried out in accordance with the DIN EN 6506-1 standard.
The Rockwell hardness test is conducted in accordance with the DIN EN 6508-1 standard and applied mainly with our wear-resistant cast iron grades.
All hardness testers are continuously verified by calibrated comparative samples.
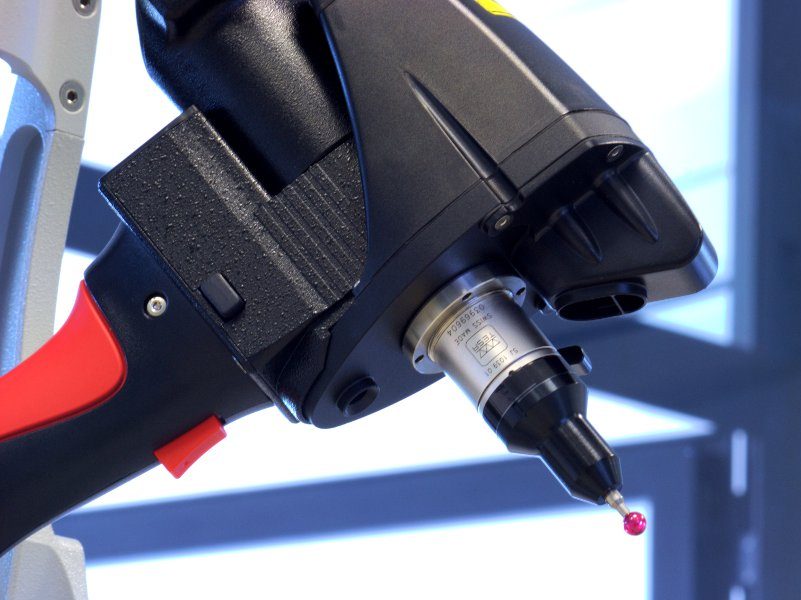
Several 3D measuring arms with laser scanning are used to check the dimensions of our cast parts. With these instruments, we compare the mathematical model of the three-dimensional drawing approved by the customer with the cast part produced. The versatile control instruments are also used for continuous inspection of the dimensionally relevant components of the moulding line, such as clamping devices and moulding boxes.
X-ray analysis is used to detect defects in the casting at any depth. These inspections are carried out by our suppliers according to European and American standards.
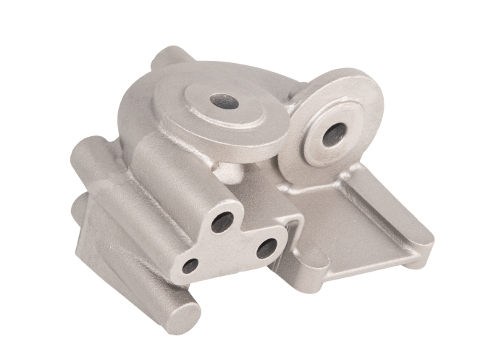
Visual inspection is used to detect visible macroscopic errors. Our employees are qualified according to EN 9712 and abilitated to certify the visual inspection.
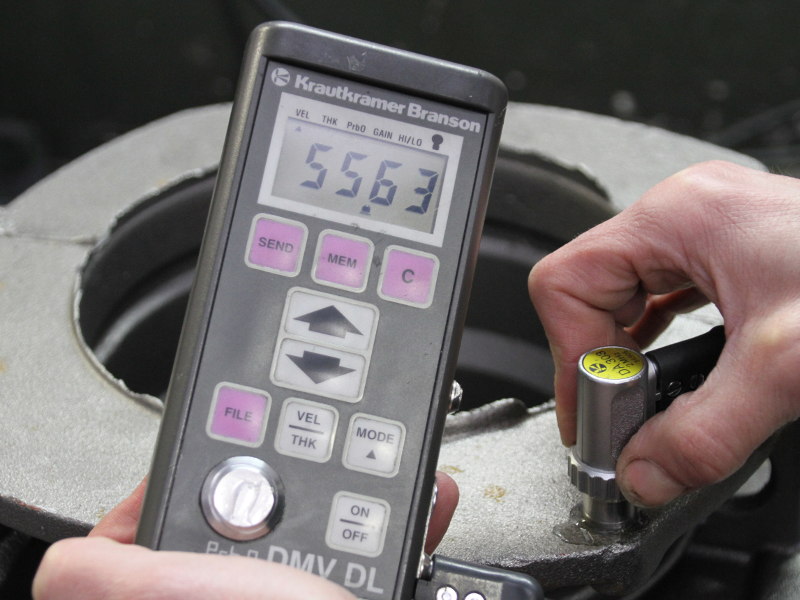
The grade of spheroidization in the ductile iron matrix can be determined using ultrasound.